Introduction
St James’s Church, West Littleton's noteworthy collection of nine listed chest tombs on the south east approach to the entrance porch have undergone a major programme of conservation work between July and September 2010. This page records the appearance of the tombs before and after conservation. A full report of the work done can be viewed in the Nimbus report here.
Memorial to the Hillier family 19th century
A white and grey veined marble rectangular (91in x 53 in) inscription tablet flanked by fluted pilasters supporting a stepped moulded cornice upon which rests a finely carved full female robed figure standing by an inscribed pedestal and spherical urn. The memorial is supported by a centrally placed lobed double corbel. Attributed to Tyley of Bristol.
Before
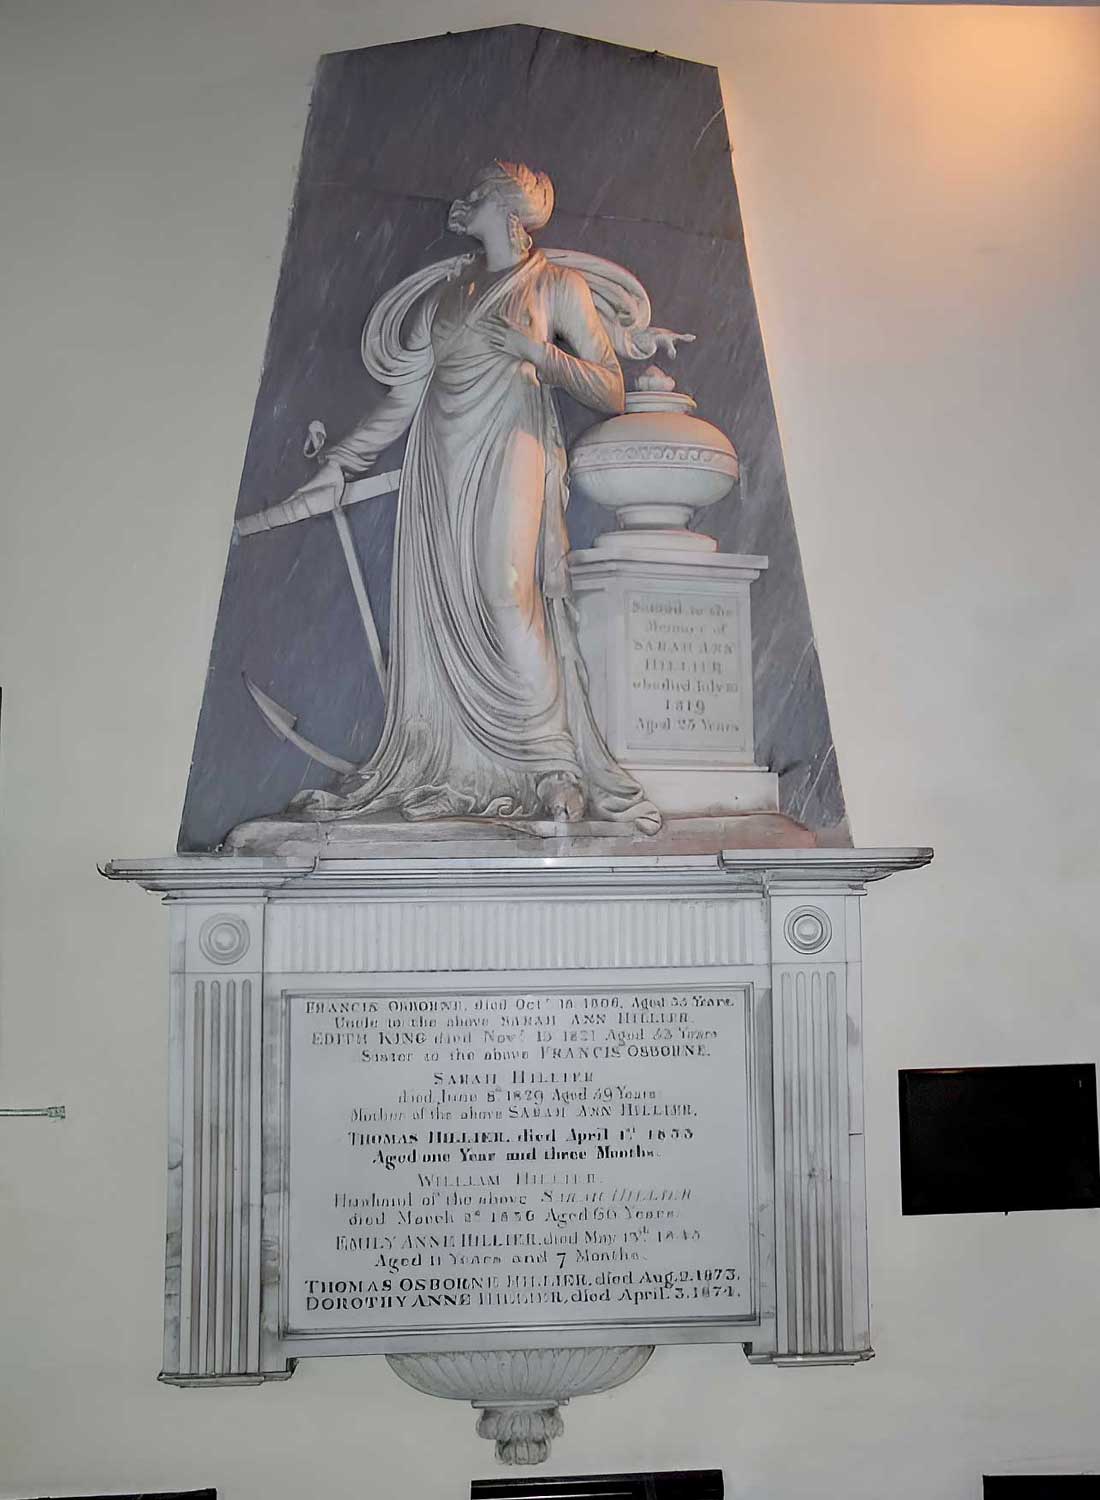
After
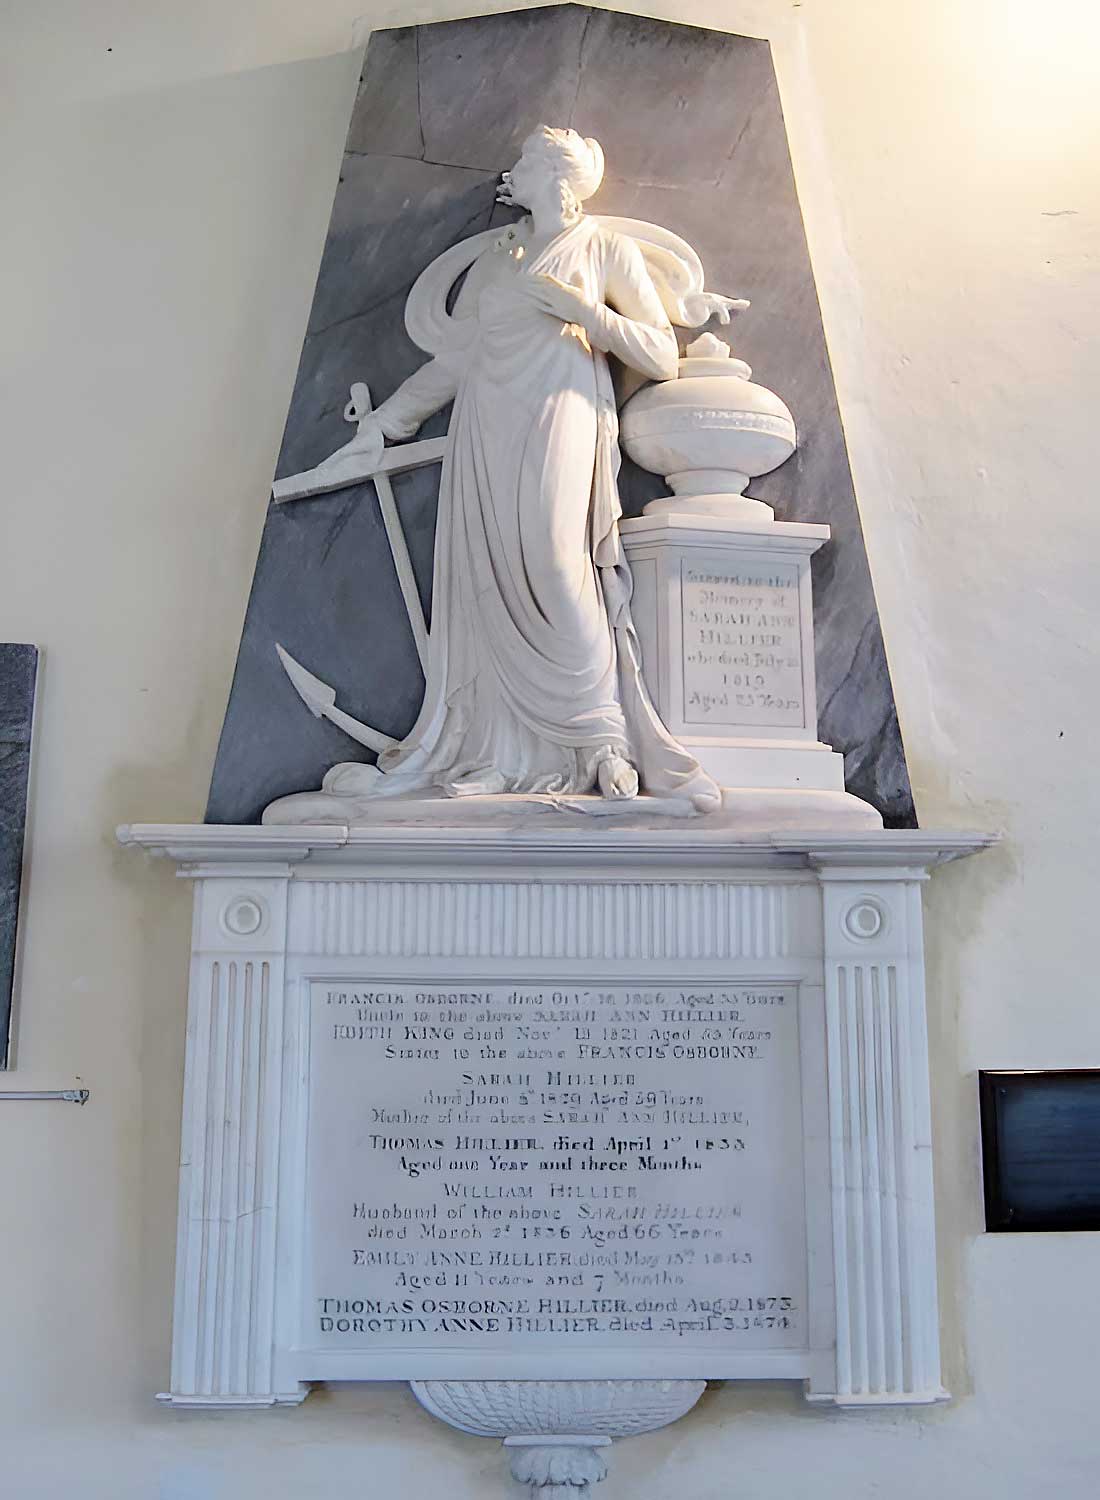
Conservation work
Before dismantling, the loose elements were carefully removed, recorded and labelled. The upper grey marble was secured by facing it up with acid free tissue paper and a P.V.A solution. The render was then chiselled all around the monument to expose any backing panels and iron fixings. The grey marble that was loose was then carefully removed which uncovered some large iron fixings and a broken backing panel behind the figure’s head. It was then decided to try and remove as many of the loose elements of the backing as possible and the iron behind the figure’s head whose role was not certain. It soon became apparent that the statue was fixed through the backing panel with iron bars and two corbels behind the plaster repair at her feet. So it was necessary to lift the whole of this very heavy top section free in one piece. By the gentle loosening of cramps and sliding forward over the iron corbels this was achieved. Once this top section was lowered it was possible to separate the individual elements for repair, cleaning and re-fixing. The lower section was then dismantled piece by numerous piece, then recorded, labelled and cleaned. The old cramps were removed and fixing holes cleaned out, then repaired using an epoxy resin and plaster fill. The fixings in the figure were small brass dowels bedded in lead which were drilled out.
The inscription panel and backing were the first pieces to be re-fixed against a damp proof membrane and on to two large stainless steel bars similar to the original iron corbels. These were set in stone and slate mortared into the wall. The monument was then carefully rebuilt over the damp proof membrane with casting plaster and epoxy resin used to fix the new stainless steel cramps. New stainless steel corbels were inserted to the wall to line up the sound areas of the backing panel which was pinned and resined back together as much as possible. It was not feasible to reuse the top areas that had been bedded to the wall with mortar. This meant that the very top of the pinned backing was drilled and fixed to the wall directly and the two small pieces of grey marble below were plastered to them directly and backfilled with mortar. All the other marble elements were fixed through the backing panel into the rubble wall with resin fixed dowels. The figure was too heavy to stand on the cornice as before so was set upon a third stainless steel corbel inserted under the backing to the grey marble. Once erected, all joints and cracks were filled with plaster and touched in with acrylic paint as was the lettering. The whole was then micro crystalline waxed. The render was replaced and lime washed.
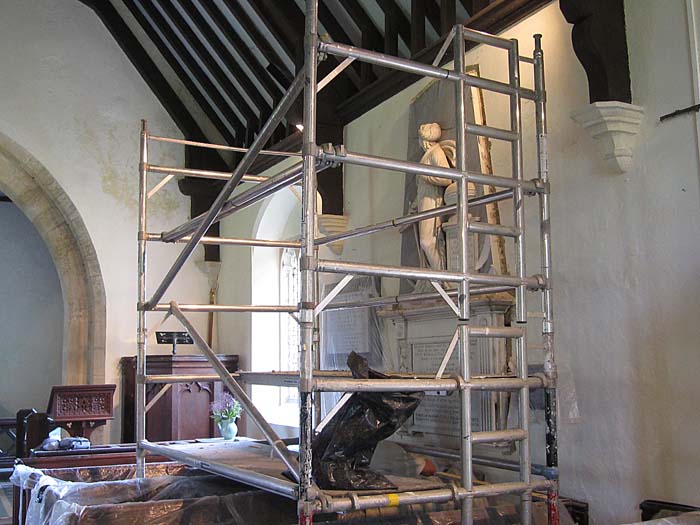
Hillier memorial
Work starts on the Hillier memorial.
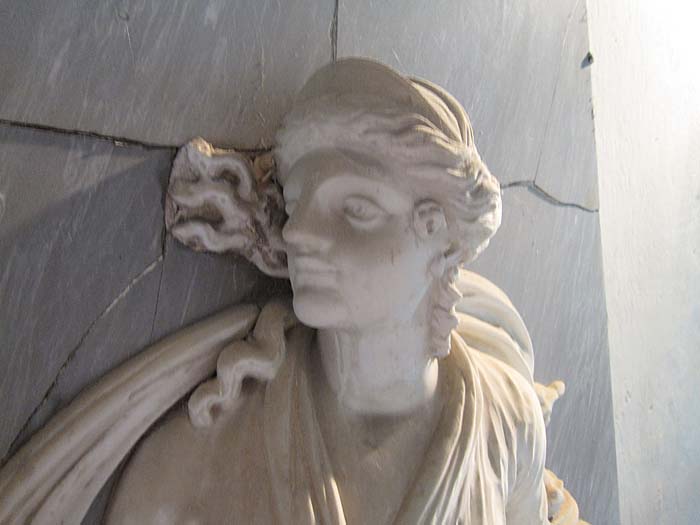
Hillier memorial
Note the serious cracking coming through from the backing panel central fixing.
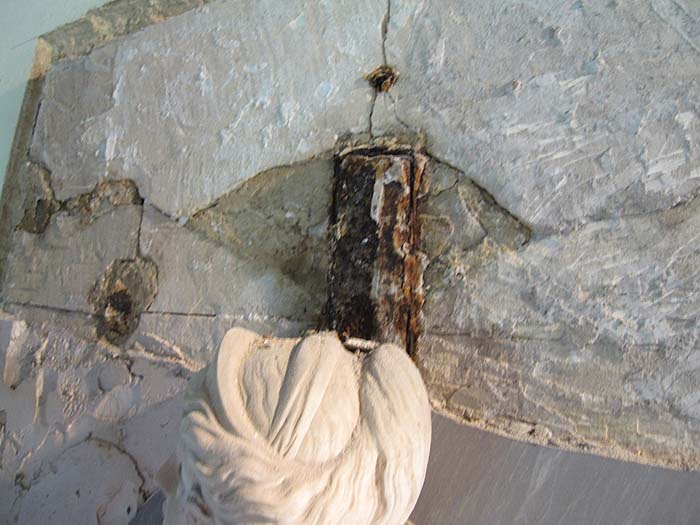
Hillier memorial
The central fixing at the top of the figure is the main cause of cracking of the top section.
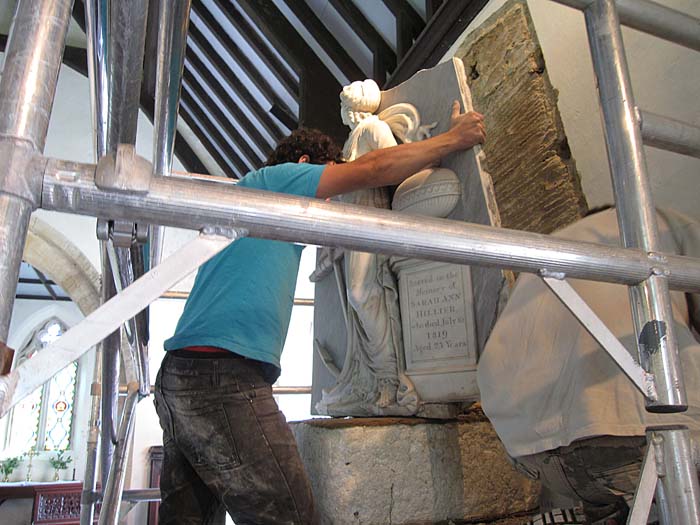
Hillier memorial
The main part of the top panel with figure elements still attached is very heavy - what do we do now?
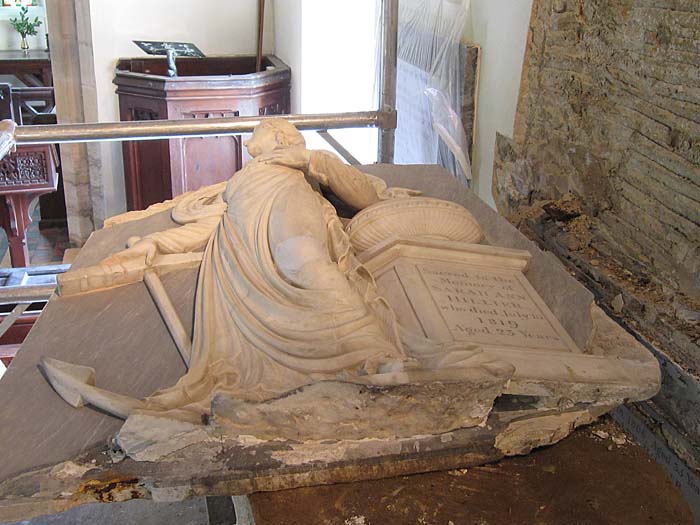
Hillier memorial
Laid to rest - temporarily while the team take a breather and decide how to handle this heavy piece whilst working on it.
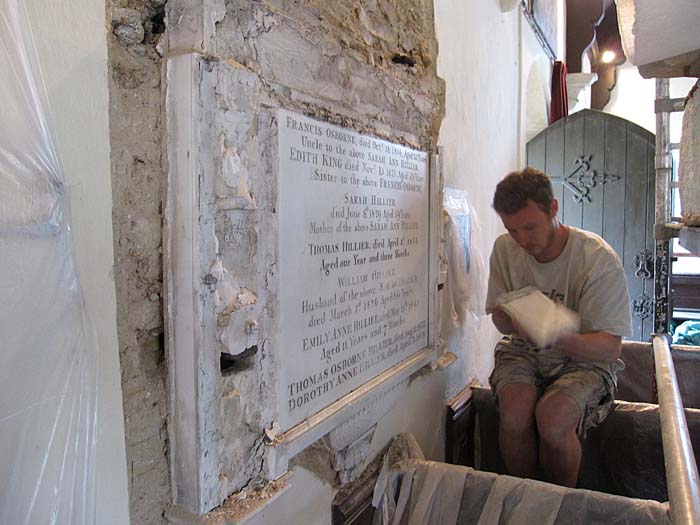
Hillier memorial
Dismantling almost finished.
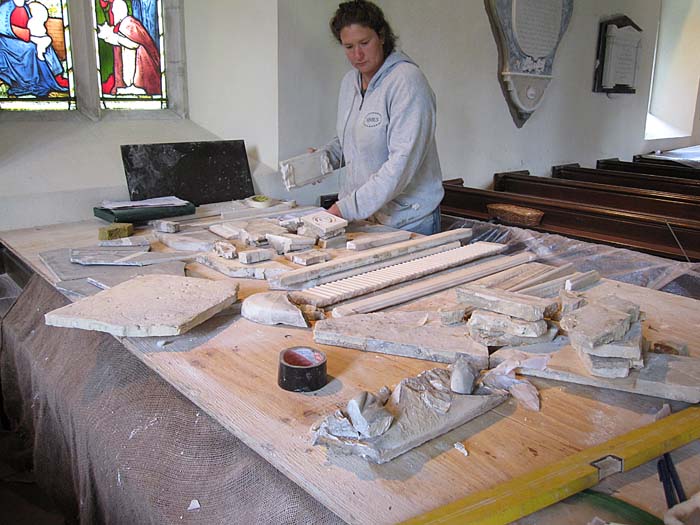
Hillier memorial
Parts laid out - what a jigsaw! Come back next week for the next instalment.
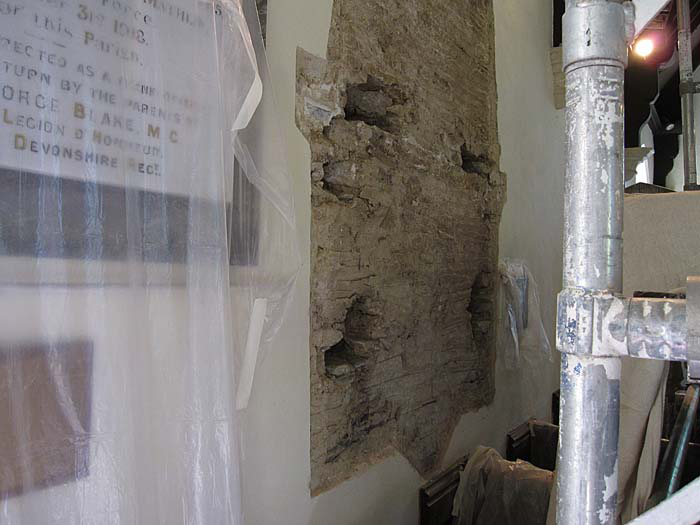
Hillier memorial
Removal completed - large holes in the church wall where new fixings will be needed.
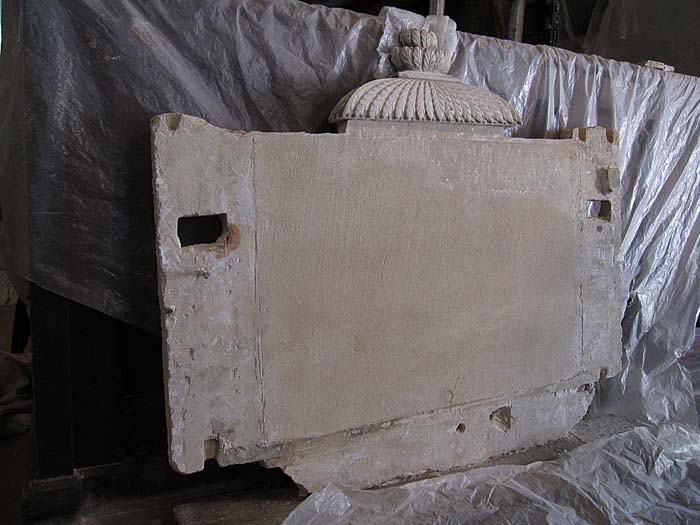
Hillier memorial
Lower backing panel in Bath stone ready for reinstallation.
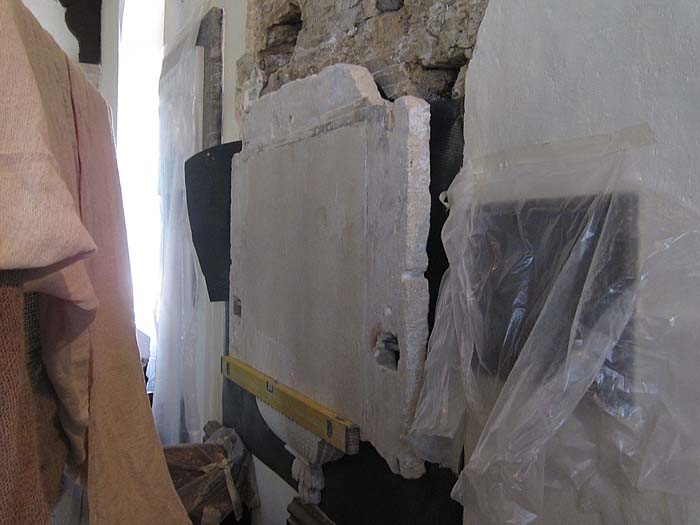
Hillier memorial
Lower backing panel located on new stainless steel supports.
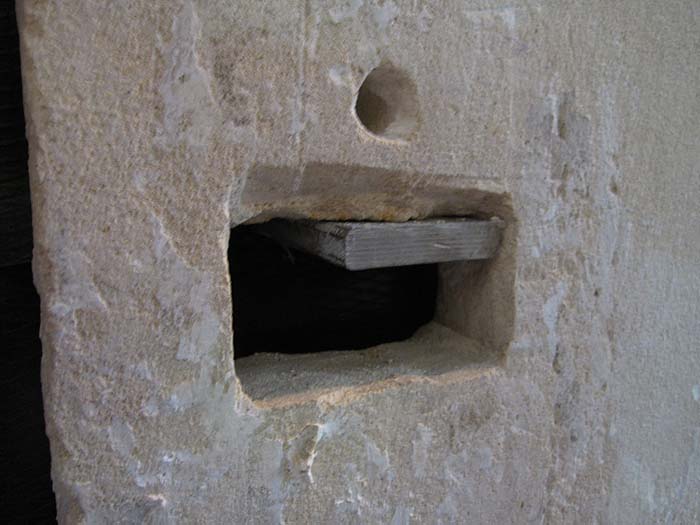
Hillier memorial
Very strong stainless steel bars support the memorial lower panel. Separate supports for the upper panel will carry most of the weight of the memorial.
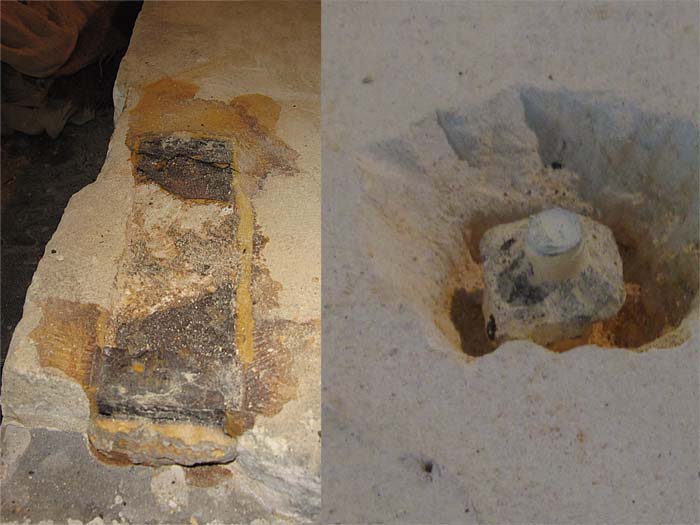
Hillier memorial
The fixing on the left has virtually disappeared. The picture on the right shows one of the fixings for the marble figure elements. These will have to be drilled out and replaced with stainless steel.
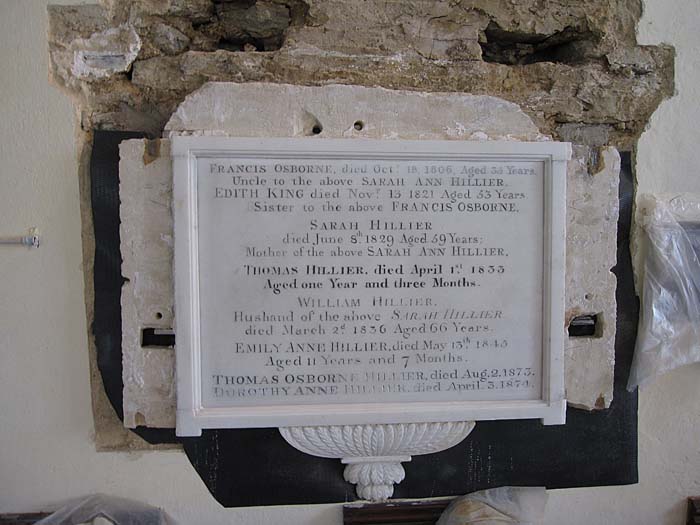
Hillier memorial
Reinstallation of the inscription panel begins.
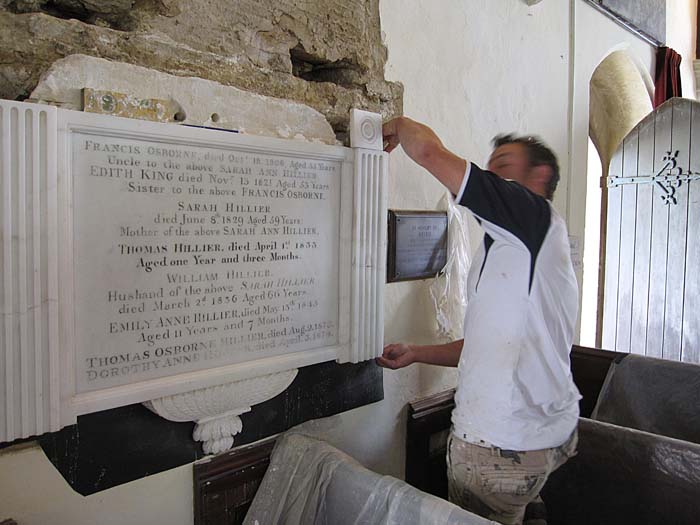
Hillier memorial
Reinstallation of the inscription panel continues. The marble elements surrounding the central panel are fixed with casting plaster.
Hillier memorial
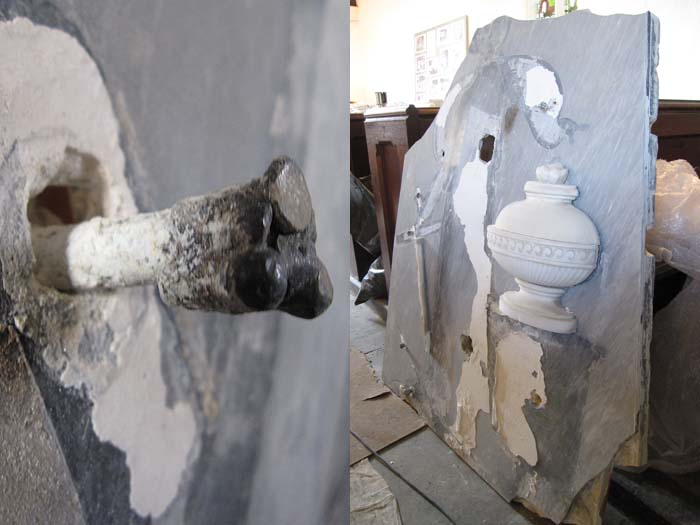
Top panel almost completely dismantled. Note the curious cast lead on fixings used to hold the marble elements of the memorial in place.
Hillier memorial
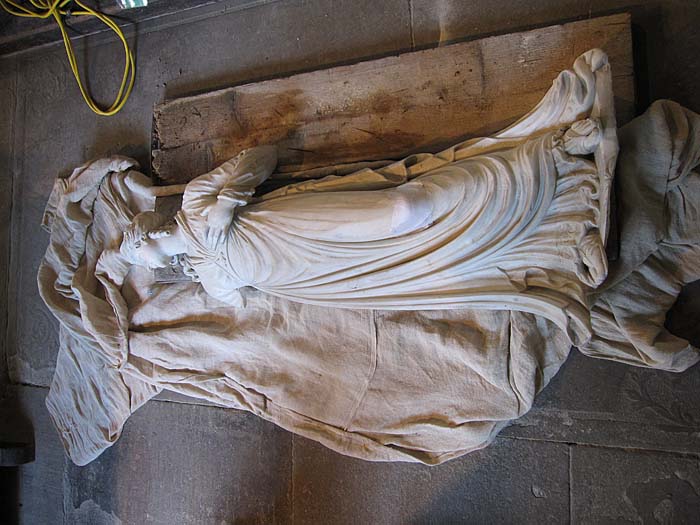
Marble figure waiting for a 'bath'.
Hillier memorial
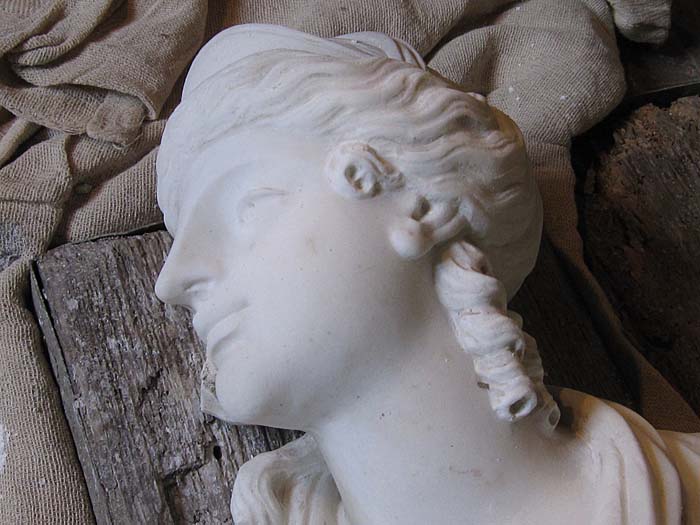
Cleaning of the face and upper body in progress.
Hillier memorial
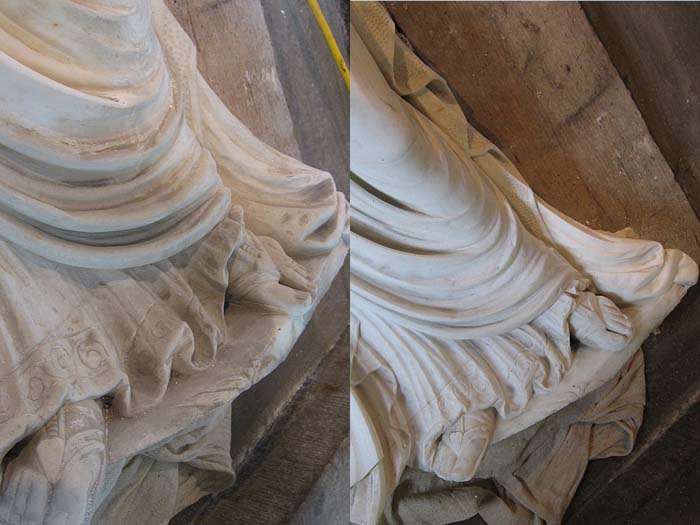
Left - before cleaning, Right - after cleaning.
Hillier memorial
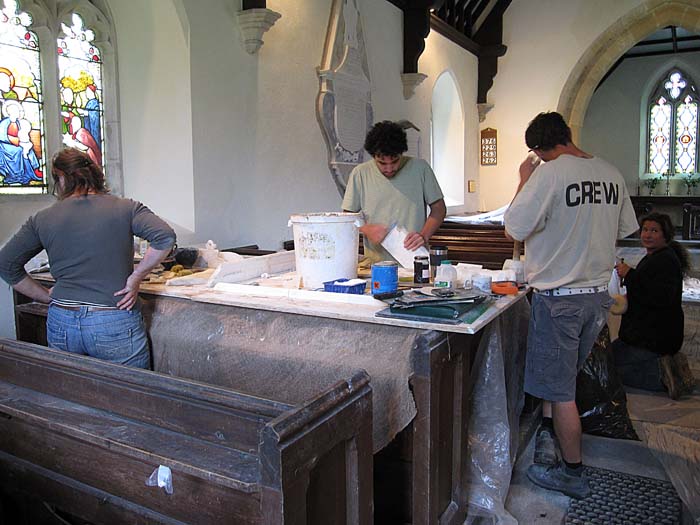
The team working under intense pressure to complete the last memorial.
Hillier memorial
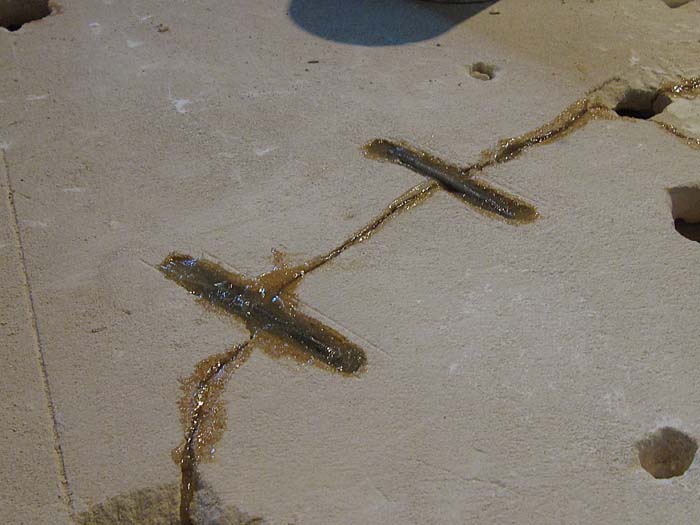
Repairs to the top backing panel. Note the use of threaded steel cramps set in resin to reinforce the joins. Other reinforcing rods will be fitted in the same plane as the backing panel, within the material.
Hillier memorial
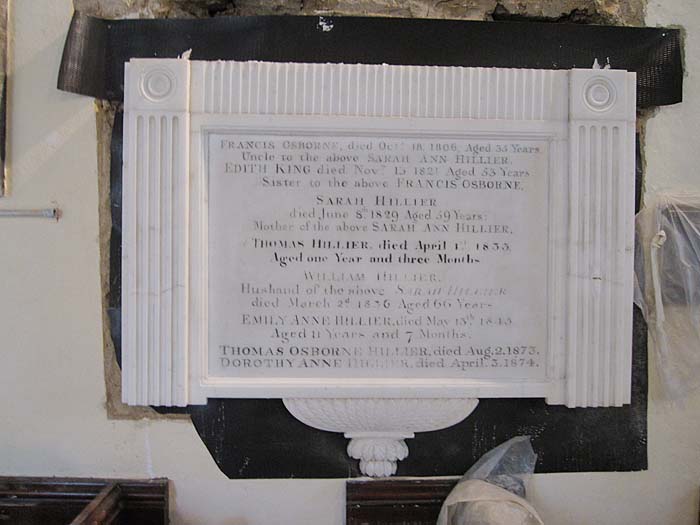
The inscription panel nearing completion.
Hillier memorial
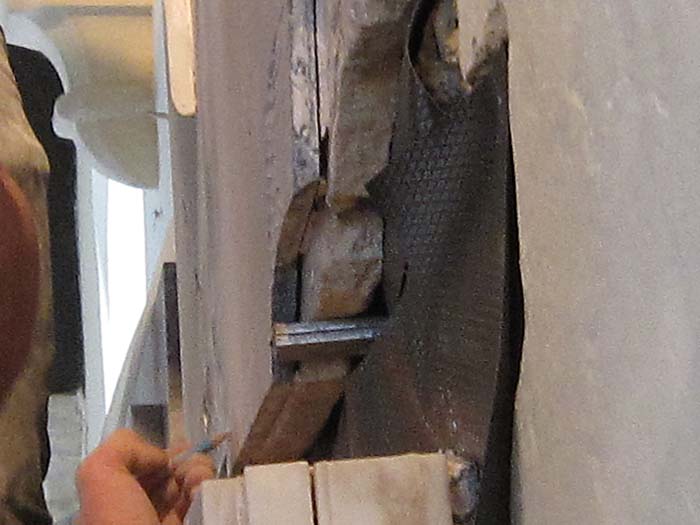
Double stainless steel bars in set into the wall carry the weight of the top panel.
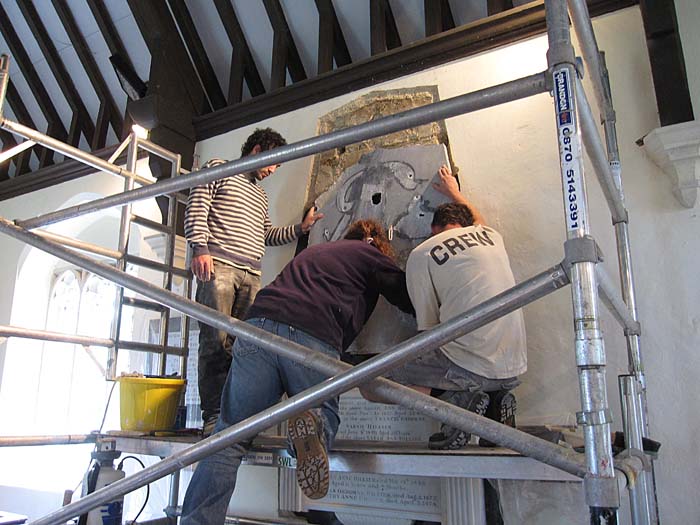
Hillier memorial
The top panel is carefully positioned on its support bars prior to fixing in place.
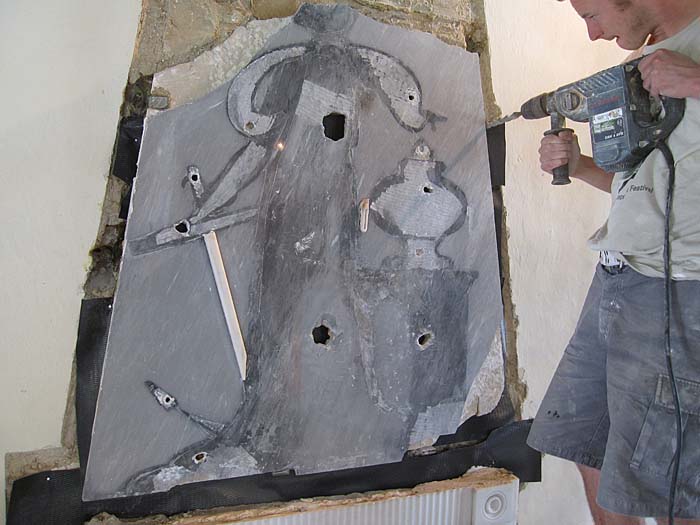
Hillier memorial
The top panel is being reinstalled initially without the marble figure. The figure will be fixed through the back panel directly into the wall. The appendages may be fixed to the backing panel - to be decided.
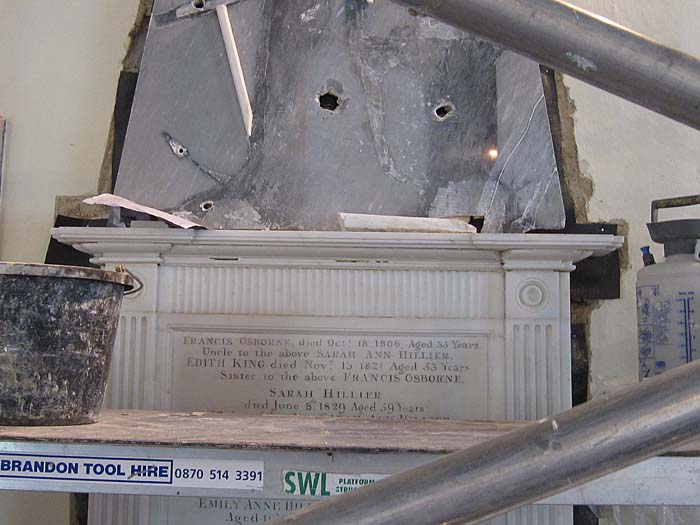
Hillier memorial
The top cornice on the inscription panel has been replaced leaving final filling to complete the lower section.
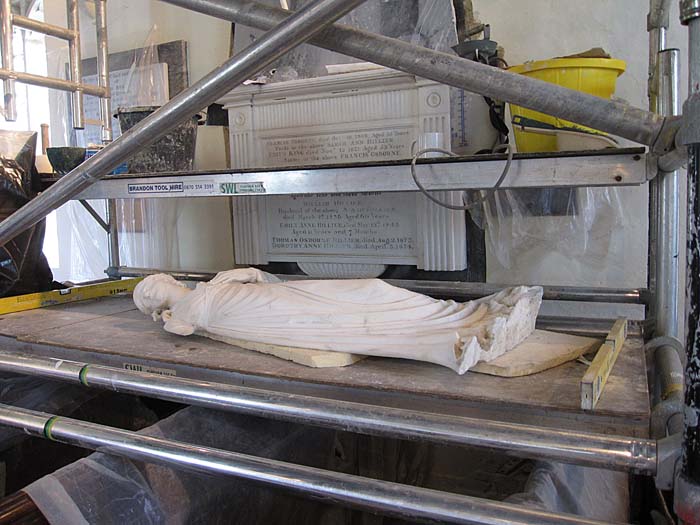
Hillier memorial
The marble figure of Hope on her way up to the top panel.
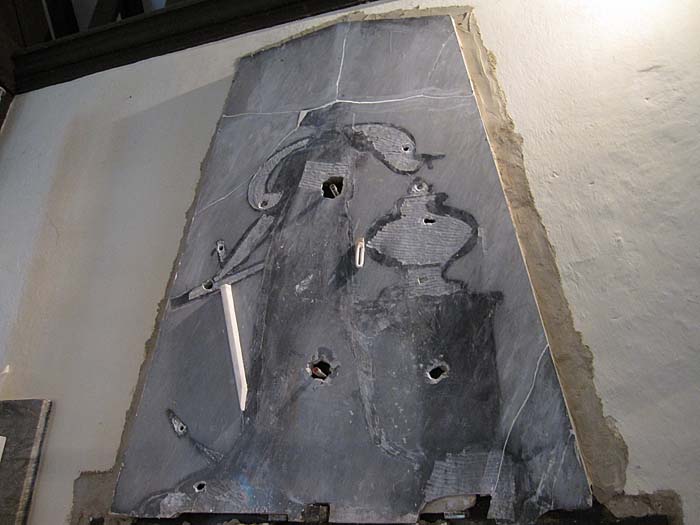
Hillier memorial
The marble backpanel in place with fixings prepared ready for the main figure to be fixed in place.
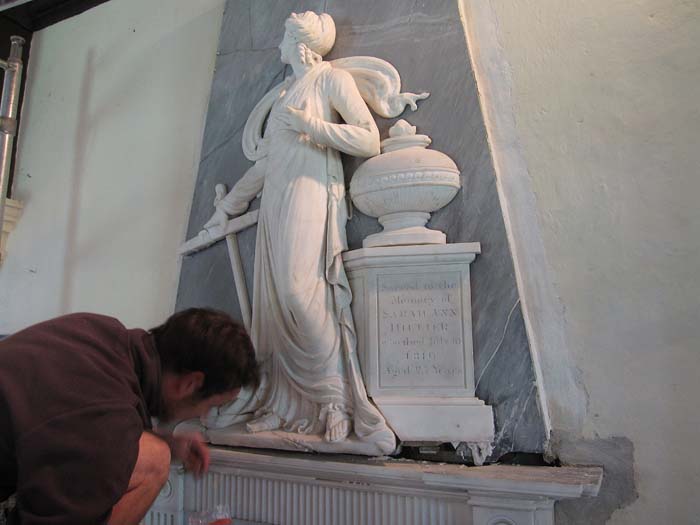
Hillier memorial
The marble figure of Hope and associated marblework has been fitted.
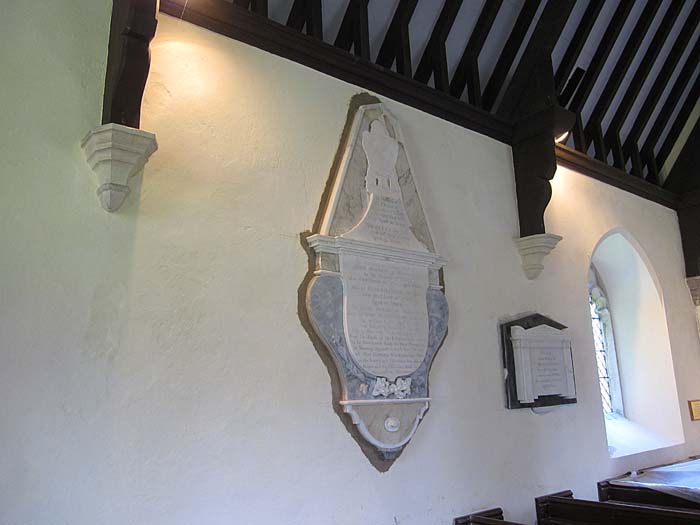
Memorial to the Frankcom family 18th century
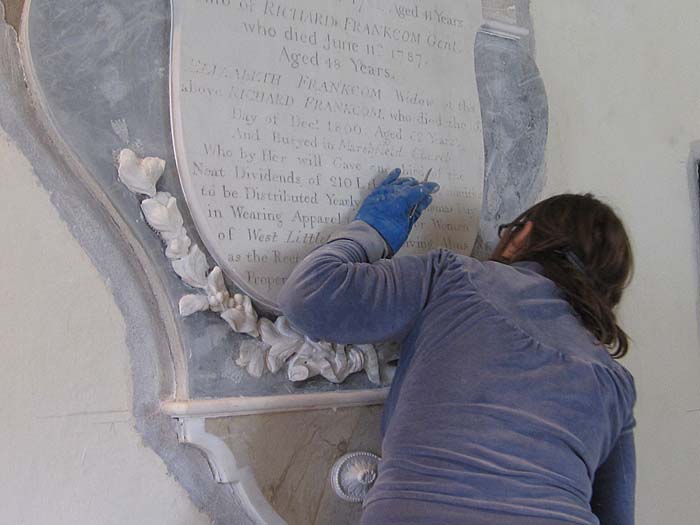
A white and coloured marble memorial (83in x 41in) with a central white marble inscription tablet set on a grey marble shouldered surround with mounted decorative foliage carving. A yellow veneered marble frieze runs behind the top of the tablet with a stepped moulded cornice above. The memorial rests on a narrow plain shelf, a framed apron with shaped bottom edge and a moulded corbel beneath. Attributed to Tyley of Colerne.
Before
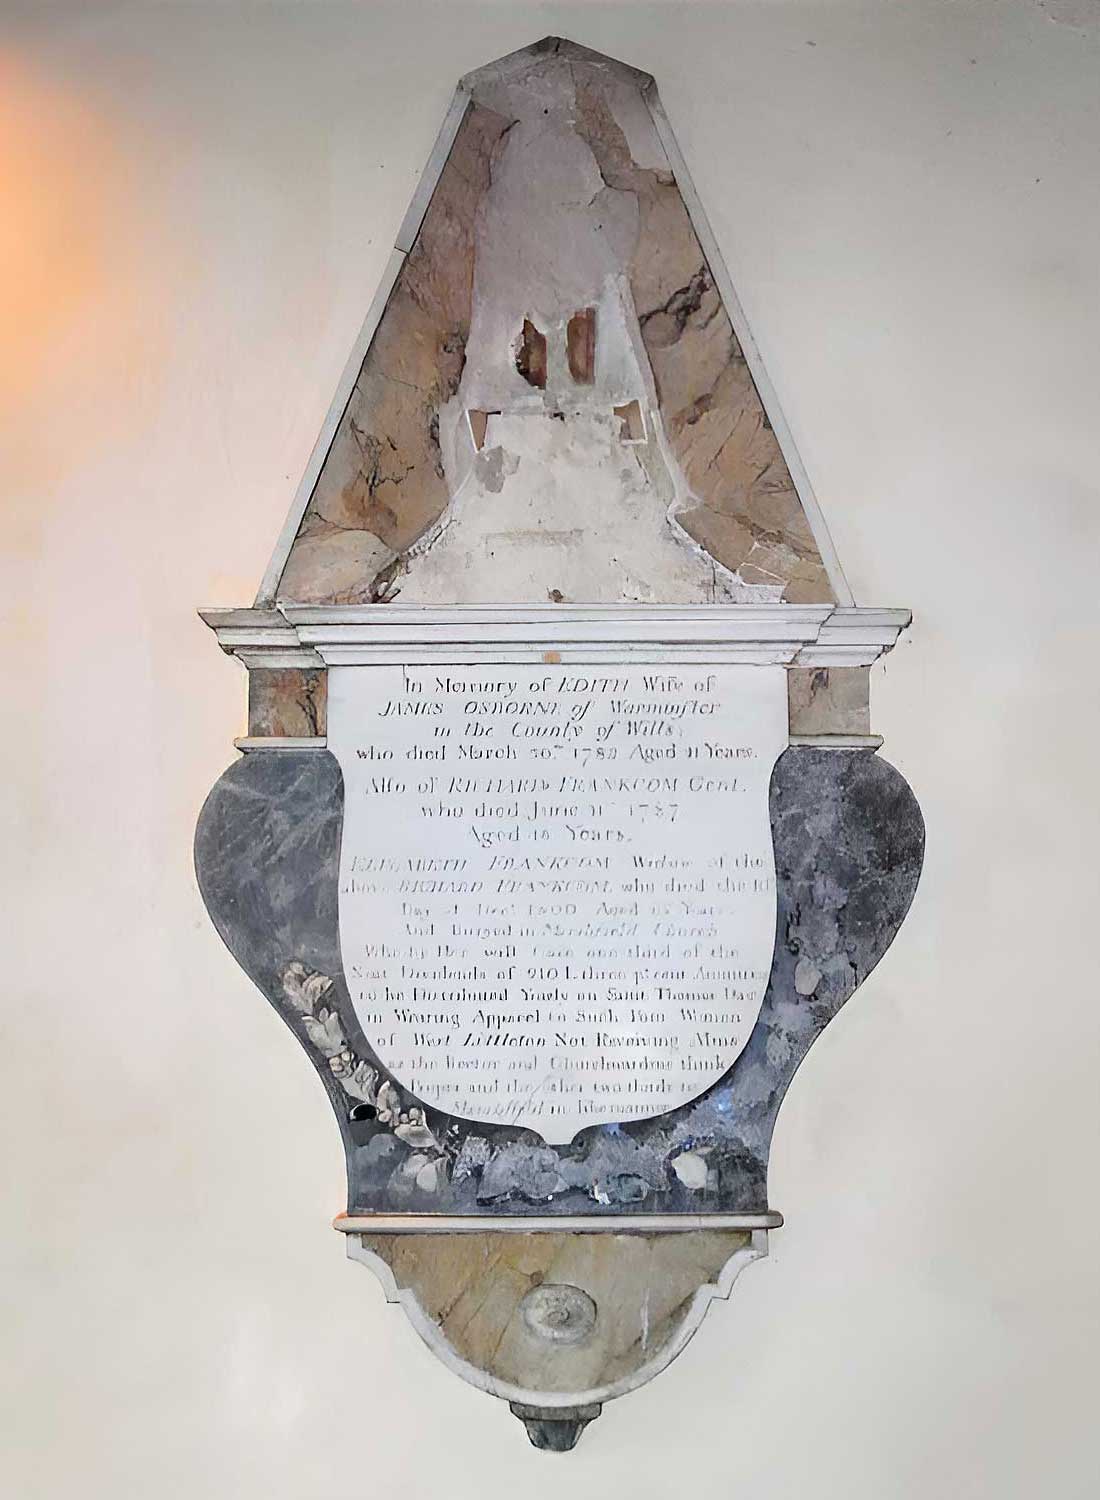
After
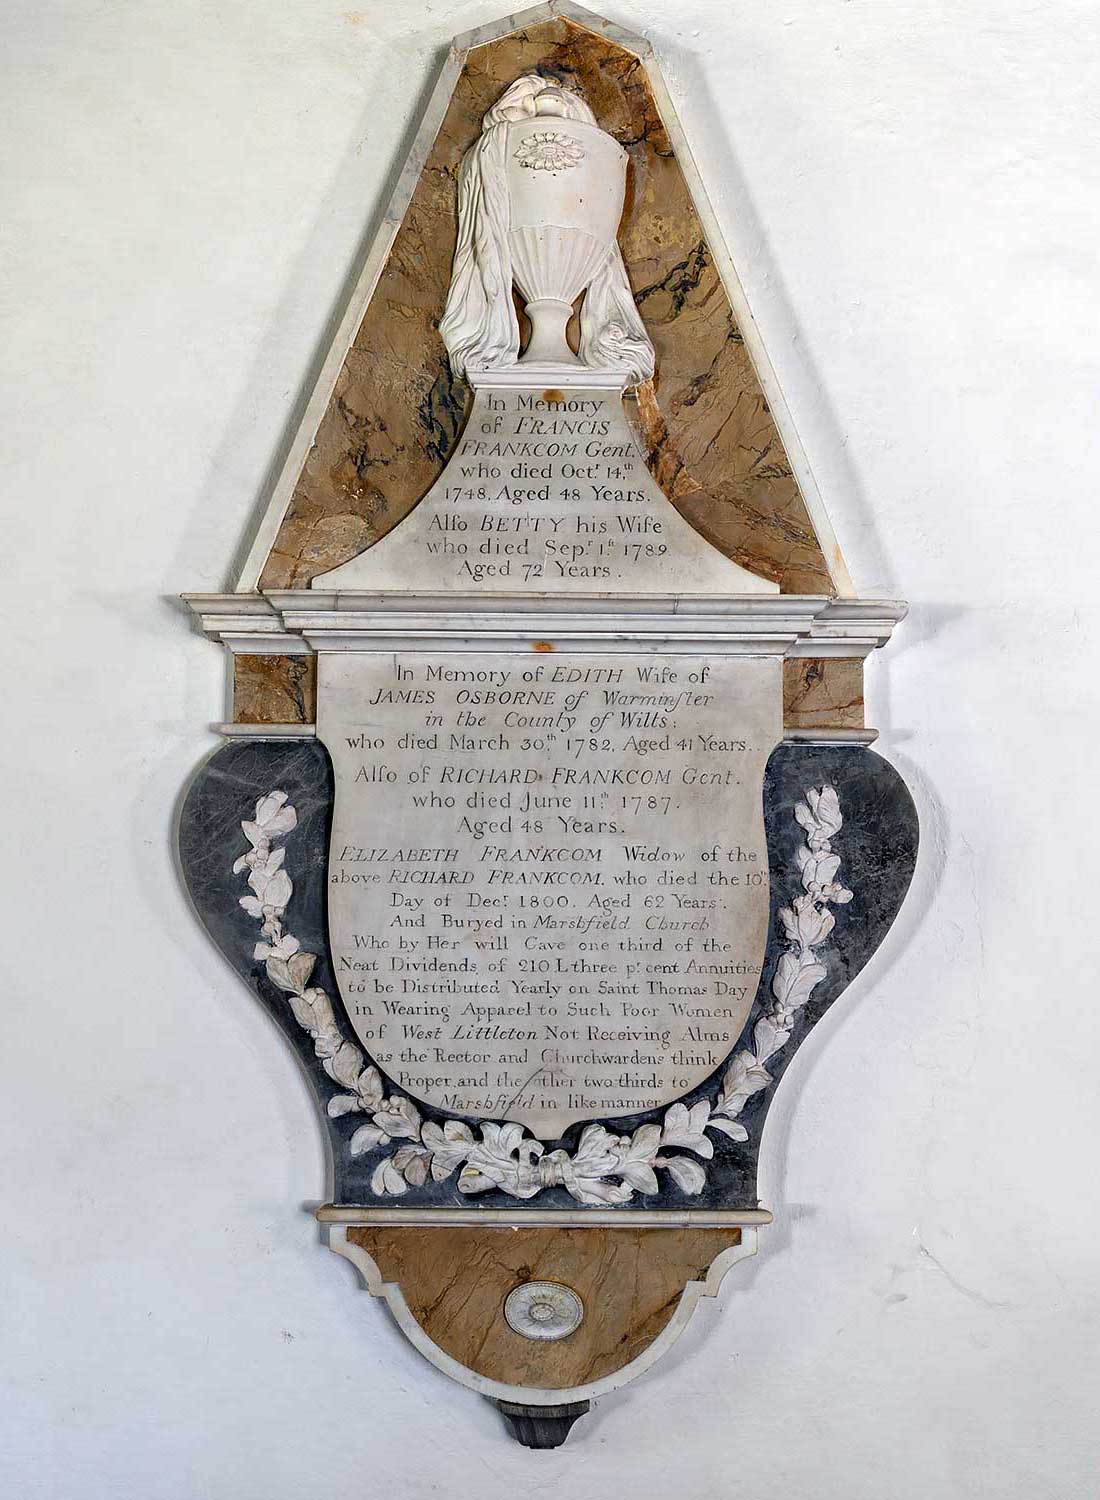
Conservation work
All loose elements were carefully removed and where this was not possible they were secured using eltolene tissue adhered with a P.V.A solution. Then the render around the monument was chiselled away to expose the whereabouts of the iron fixings that held the backing panel and marble to the wall. Two were found at the top of the obelisk and one on each side of it (although more fixing holes did exist). These were then carefully chiselled and drilled out whilst the memorial was supported. Once free, the obelisk was lifted onto the working platform where the loose marble elements were re-bedded with casting plaster and cleaned using V&A solution applied with cotton wool or denture brushes in the more stubborn areas of dirt and paint splashes. Any areas where the marble had been lost completely were repaired with plaster and painted using acrylic paints to match the orange veined surrounding. The rest of the memorial was carefully dismantled removing any ferrous fixings and cleaning out all fixing holes. Each element was labelled, recorded and cleaned of dirt and bedding plaster. If an element was broken such as the lower marble moulding then it was repaired using epoxy resin and plaster. When the grey panel, which was held by three very rusty cramps was removed it was noted that the corbel had been wedged into a large hole in the masonry with timber boards which had suffered badly from damp and were rotting.
At the start of the rebuild the corbel was wrapped in a damp proof membrane and secured into the wall with stone tile, slate and a hydraulic lime mortar. Then the damp proof membrane was hung against the rubble wall and the lower orange marble panel and white moulding were lifted and cramped into position. The new ‘ S’ shaped cramps were fashioned to suitable lengths from grade 316 stainless steel flat bar or smaller threaded dowel. They were fixed with stone wedges, hydraulic mortar and epoxy resin. Once the resin had set the grey marble panel was lifted and cramped into position. The other elements at this level were then attached. As the weight of the obelisk on the white marble cornice was considerable, a stainless steel corbel was inserted to support it. The obelisk was then lifted into position and cramped to the wall re-using the same cramp holes made a little deeper. The memorial was waxed using a micro crystalline wax and the render was repaired using a hydraulic lime mortar, which was lime washed to match the surrounding wall. Finally, a plaster copy of the missing funerary urn was made, cast from a clay maquette based on old photographs. The missing flowers on the swag were modelled in situ and replaced.
Frances Osborne memorial
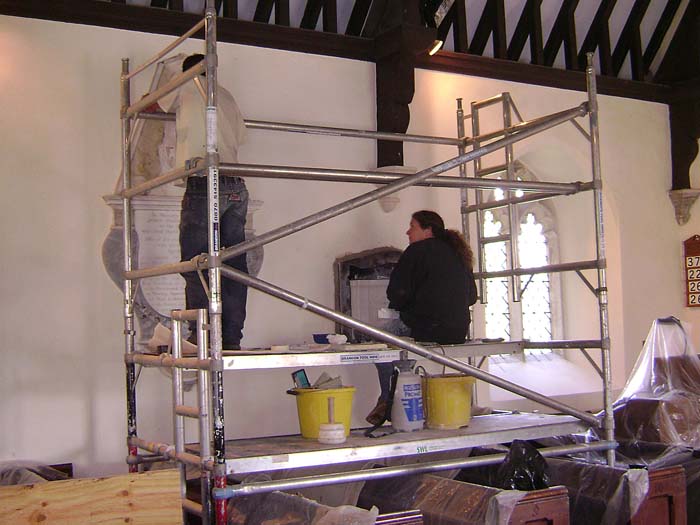
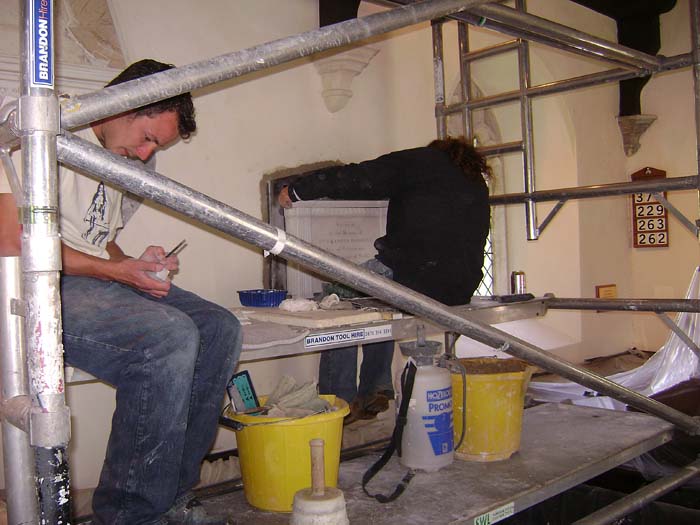
Assessing the method of removal from the wall.
Frances Osborne memorial
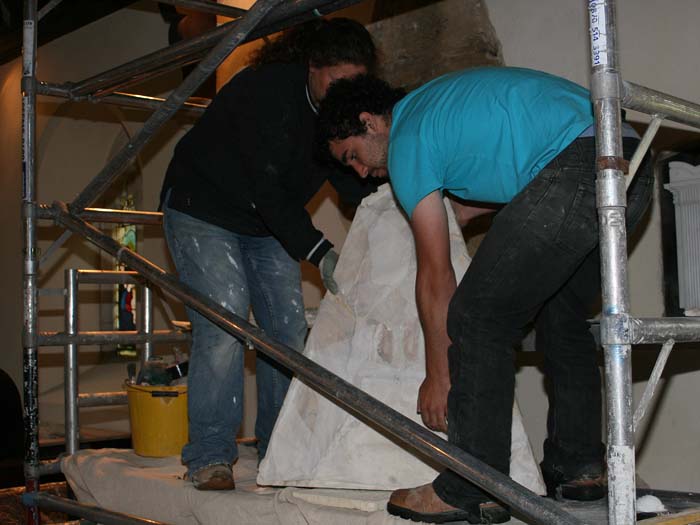
Dismantling and removing from the wall in sections.
Frances Osborne memorial
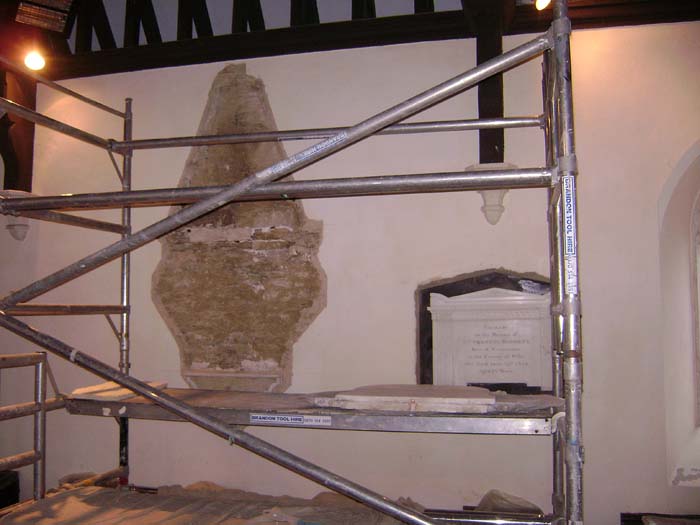
Church wall was loose in parts, unplastered and damp behind the memorial.
Frances Osborne memorial
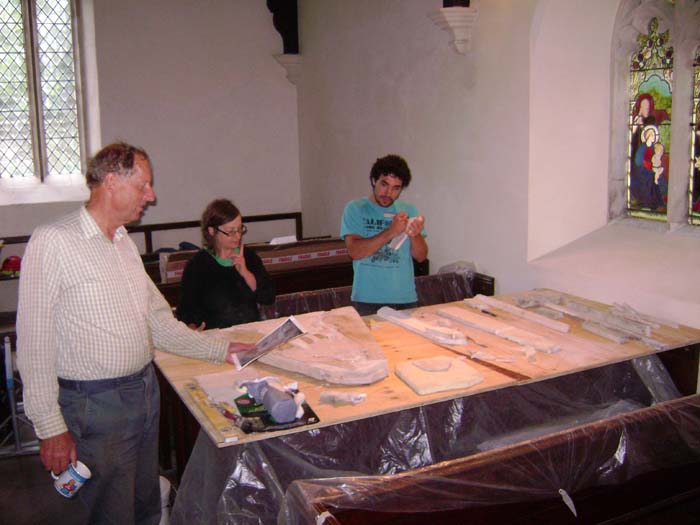
Parts laid out for cleaning and repair.
Frances Osborne memorial
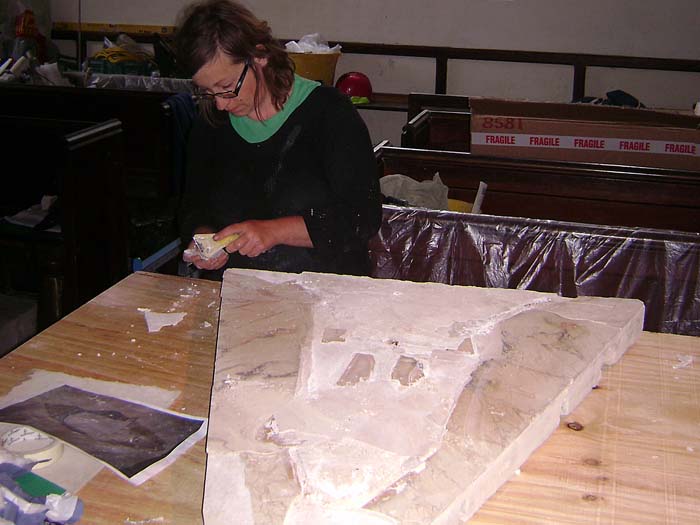
Painstaking work removing old plaster.
Frances Osborne memorial
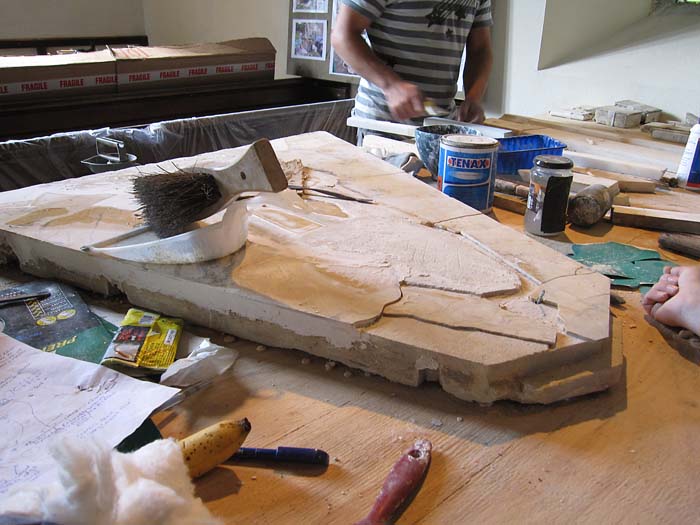
Repair work on the top panel underway. Note the very thin marble veneer and the many pieces to be fixed and filled.
Frances Osborne memorial
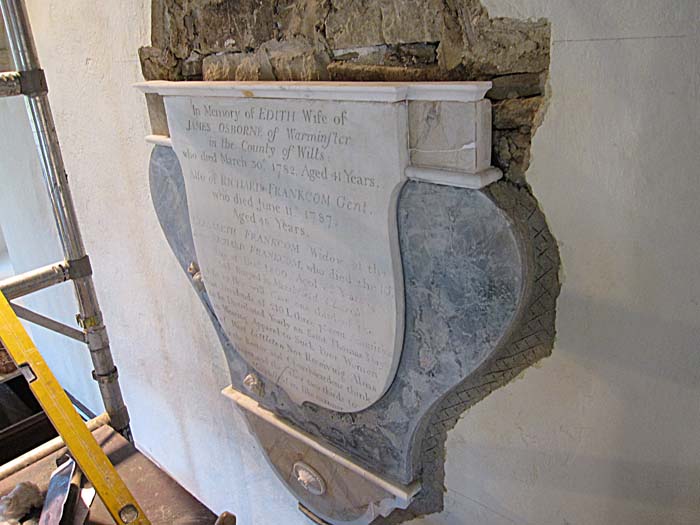
Mid-section installed. Joints between marble sections filled with a very fine casting plaster.
Frances Osborne memorial
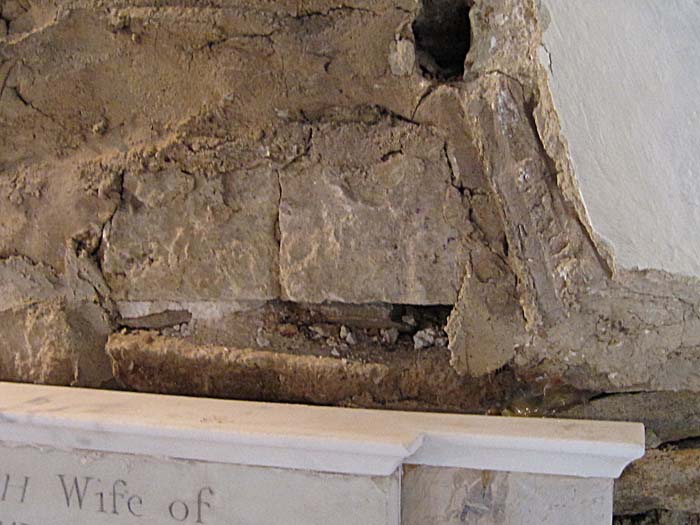
Unplastered church wall behind the Frankcom memorial - will have damp proof lining before reinstallation.
Frances Osborne memorial
Frankcom memorial re-erected. Plans are afoot to model a replacement urn in plaster to fit on the top.
Frances Osborne memorial
Decorative plasterwork being replaced. Some additional parts may be made to replace those lost over the years.
Memorial to William and Mary Alsop 18th century
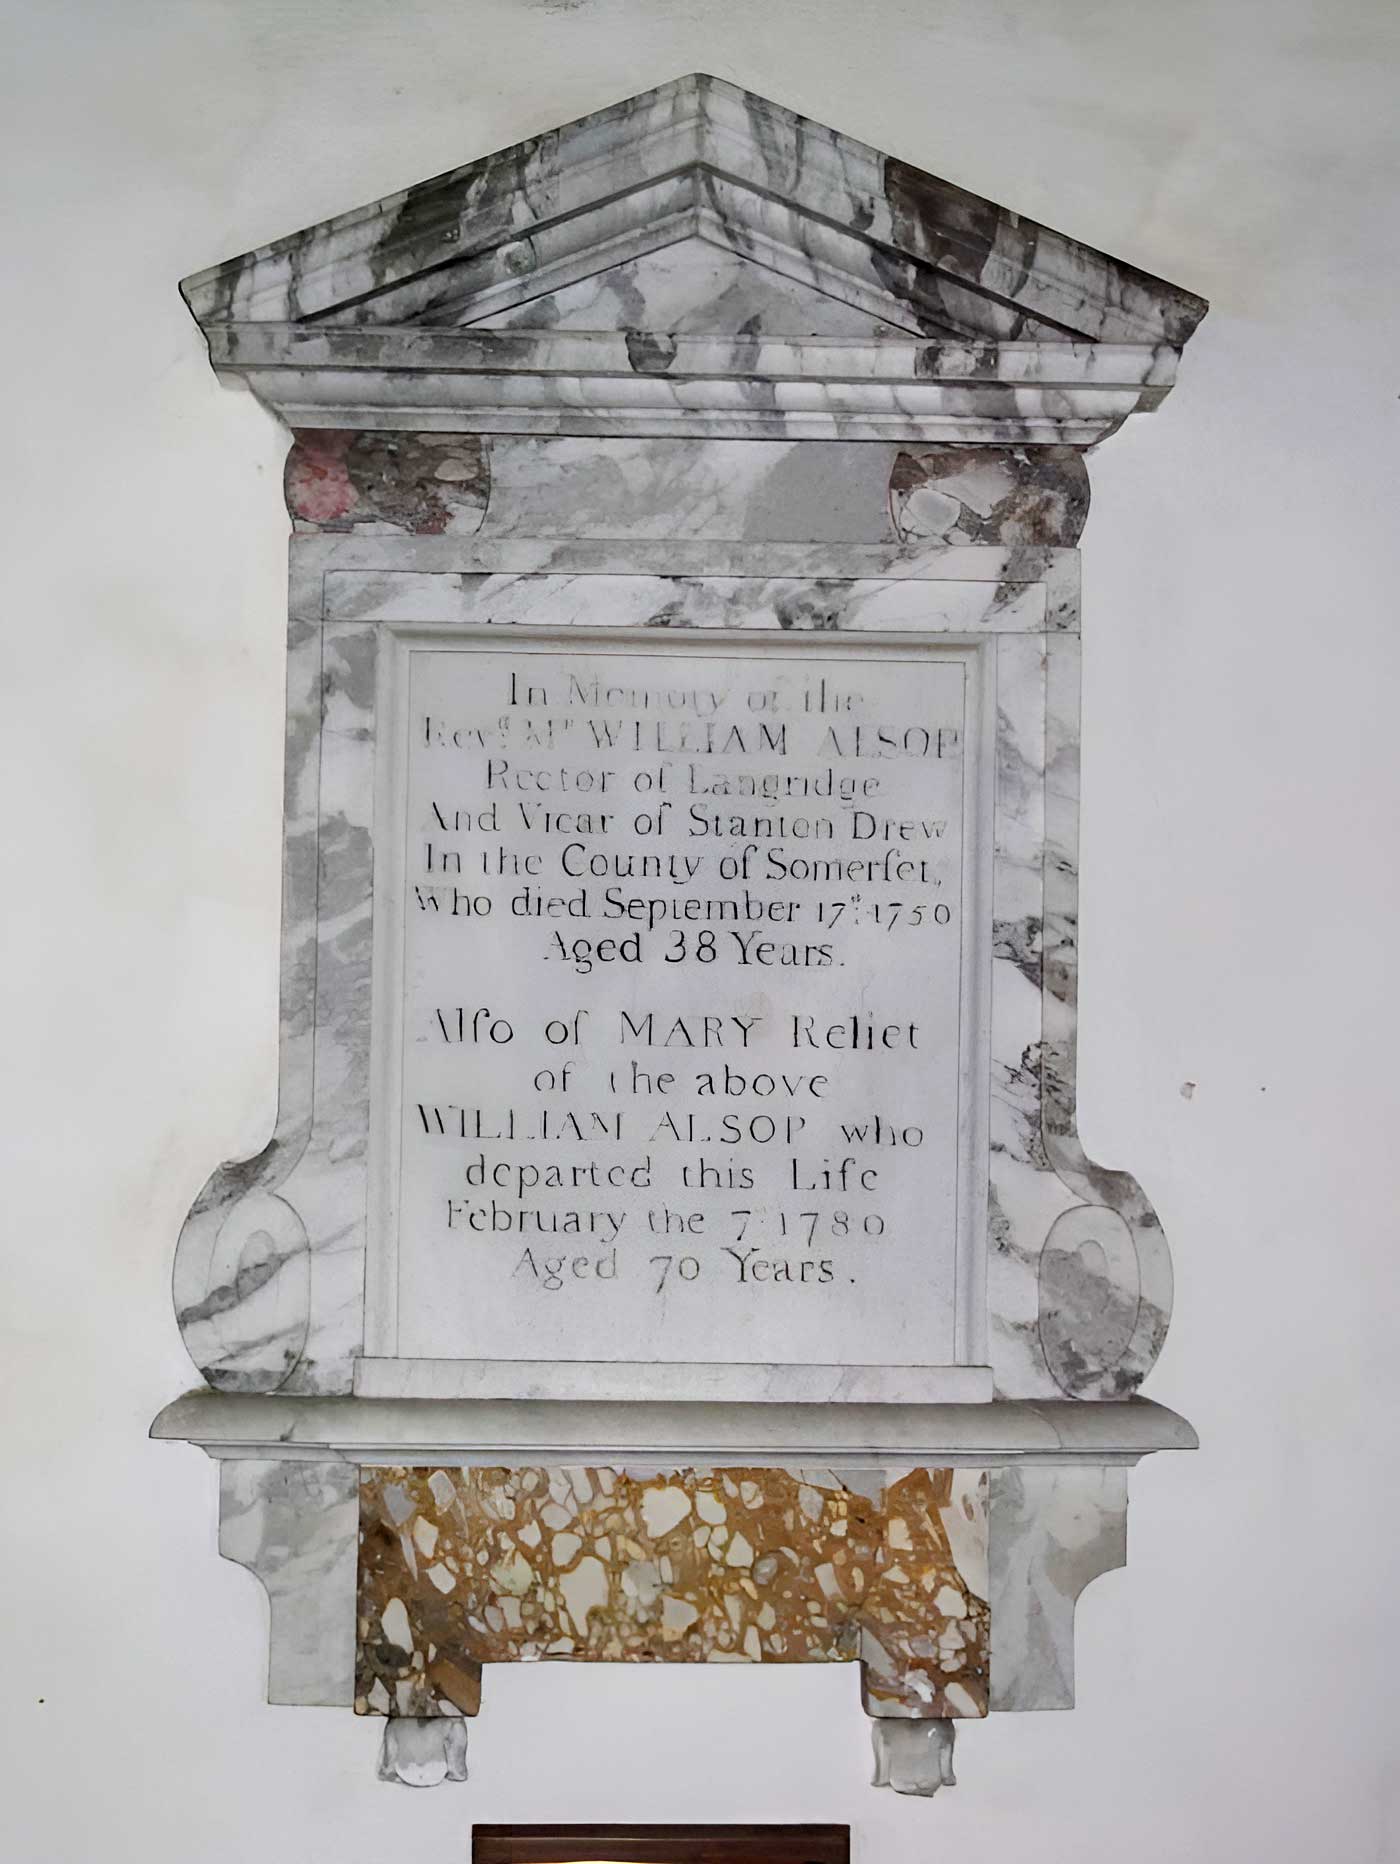
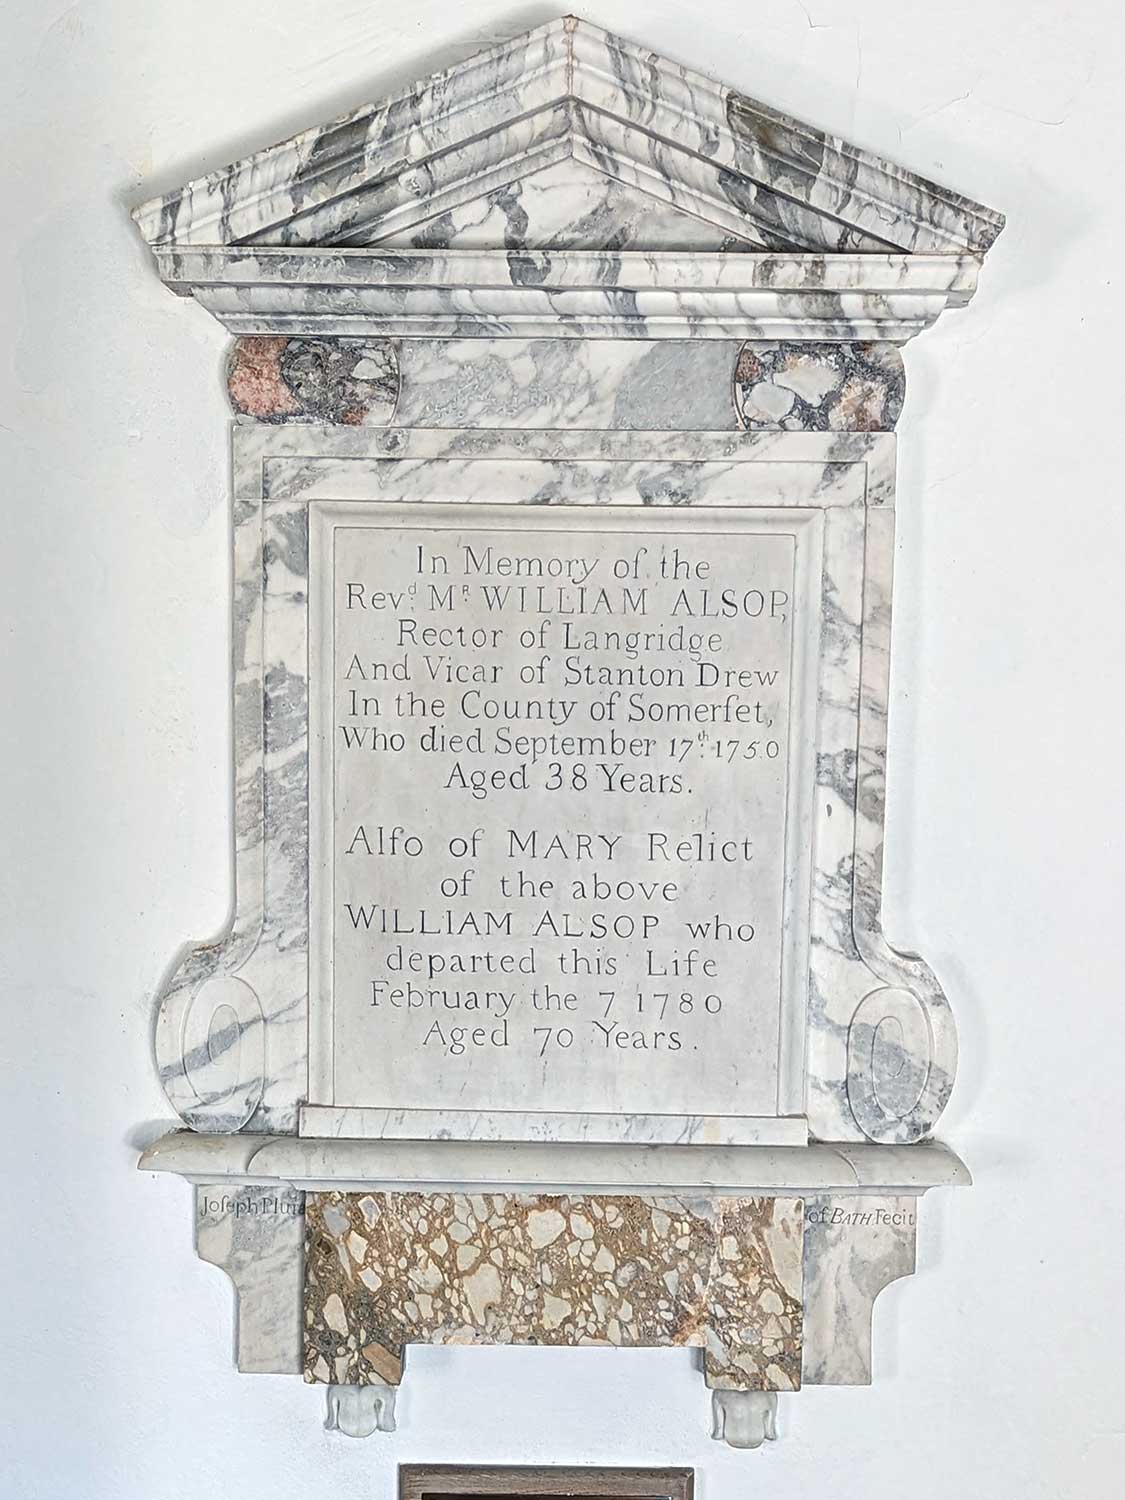
A white and coloured marble memorial (48in x 30in) with a central rectangular inscription tablet, mounted on a shelf with a coloured marble inset. Attributed to Joseph Plura of Bath.
Before
After
Conservation work
Alsop Loose and friable joints were raked out using scalpel blades. They were then filled with a fine casting plaster. The monument was then trial cleaned first by soft brushing with a vacuum cleaner to remove the loose dust, then cotton wool swabs with clean water, then a V & A mix (50 % deionised water: 50% white spirit and a non ionic surfactant) on cotton wools swabs which proved effective with brushing in more stubborn areas. The cracks were then cleaned of any loose debris and plaster repairs applied. These were painted with acrylic paints to match the stone. The lettering was then touched in with acrylic paints and finally a coat of micro crystalline wax was applied to the entire monument.
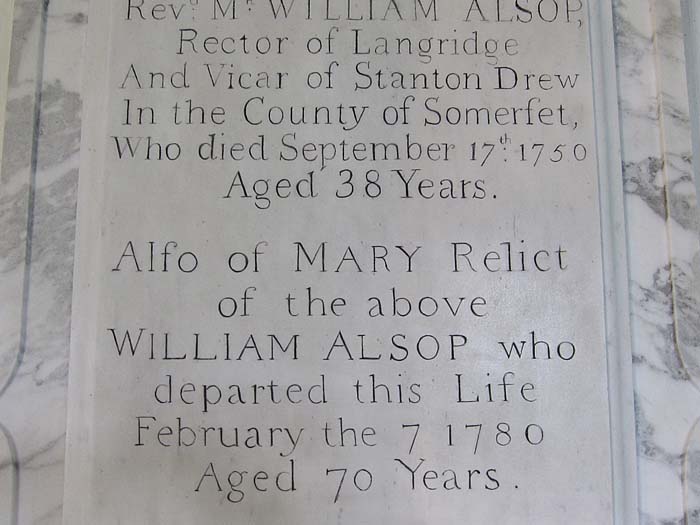
Alsop memorial
Lettering on the Alsop memorial has been refreshed.
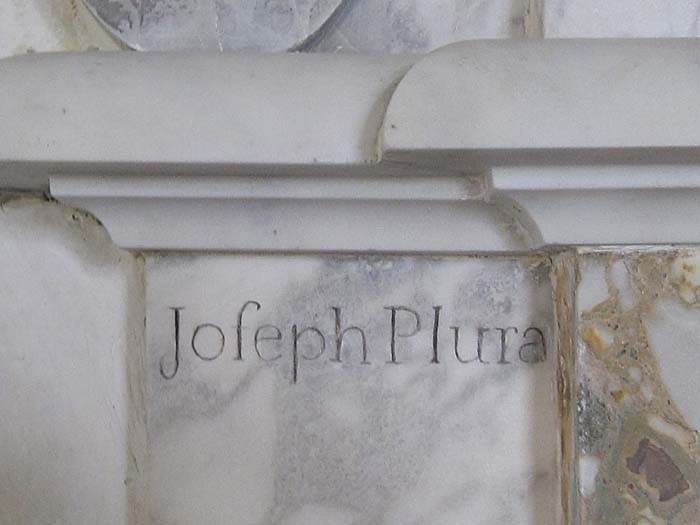
Alsop memorial
Inscription revealed on the lower left section of the memorial.
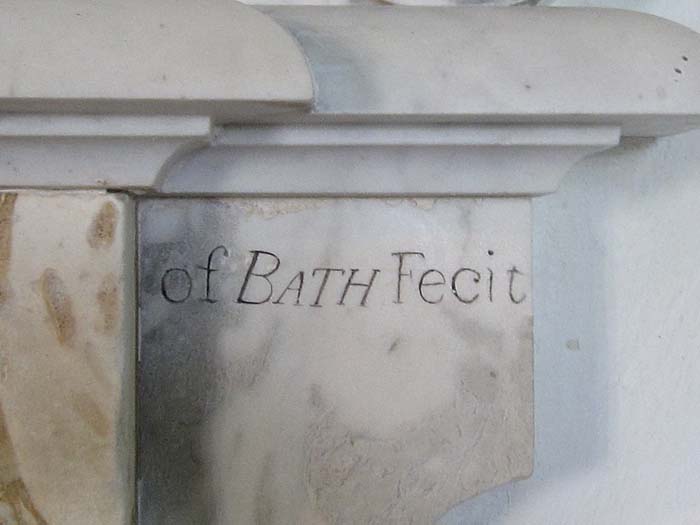
Alsop memorial
Inscription revealed on the lower right section of the memorial.
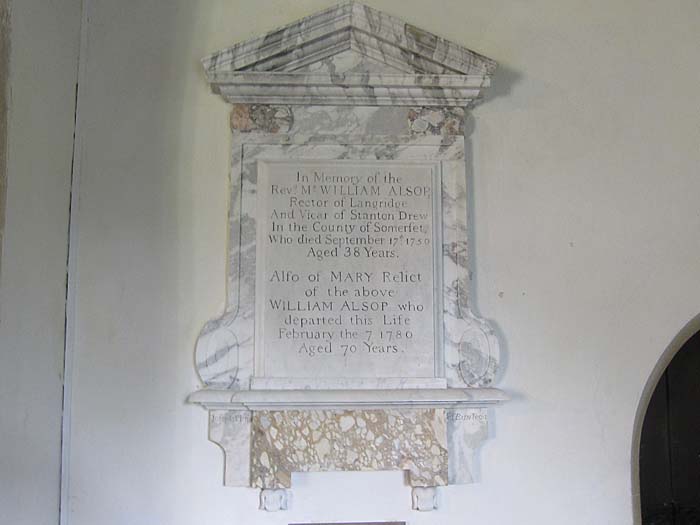
Alsop memorial
Work on the Alsop memorial complete.
Memorial to Frances Osborne 19th century
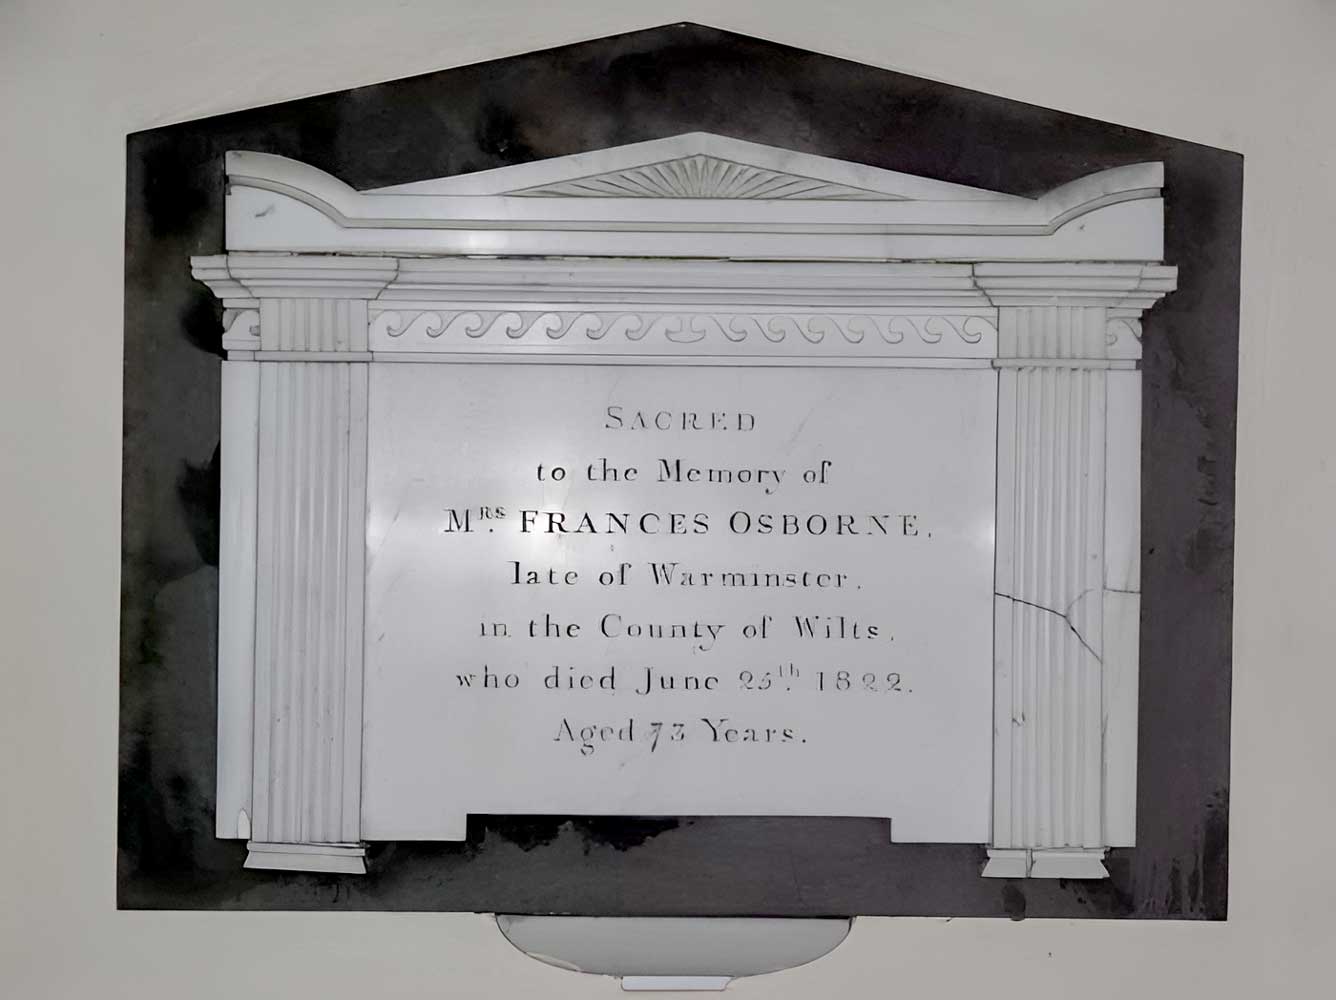
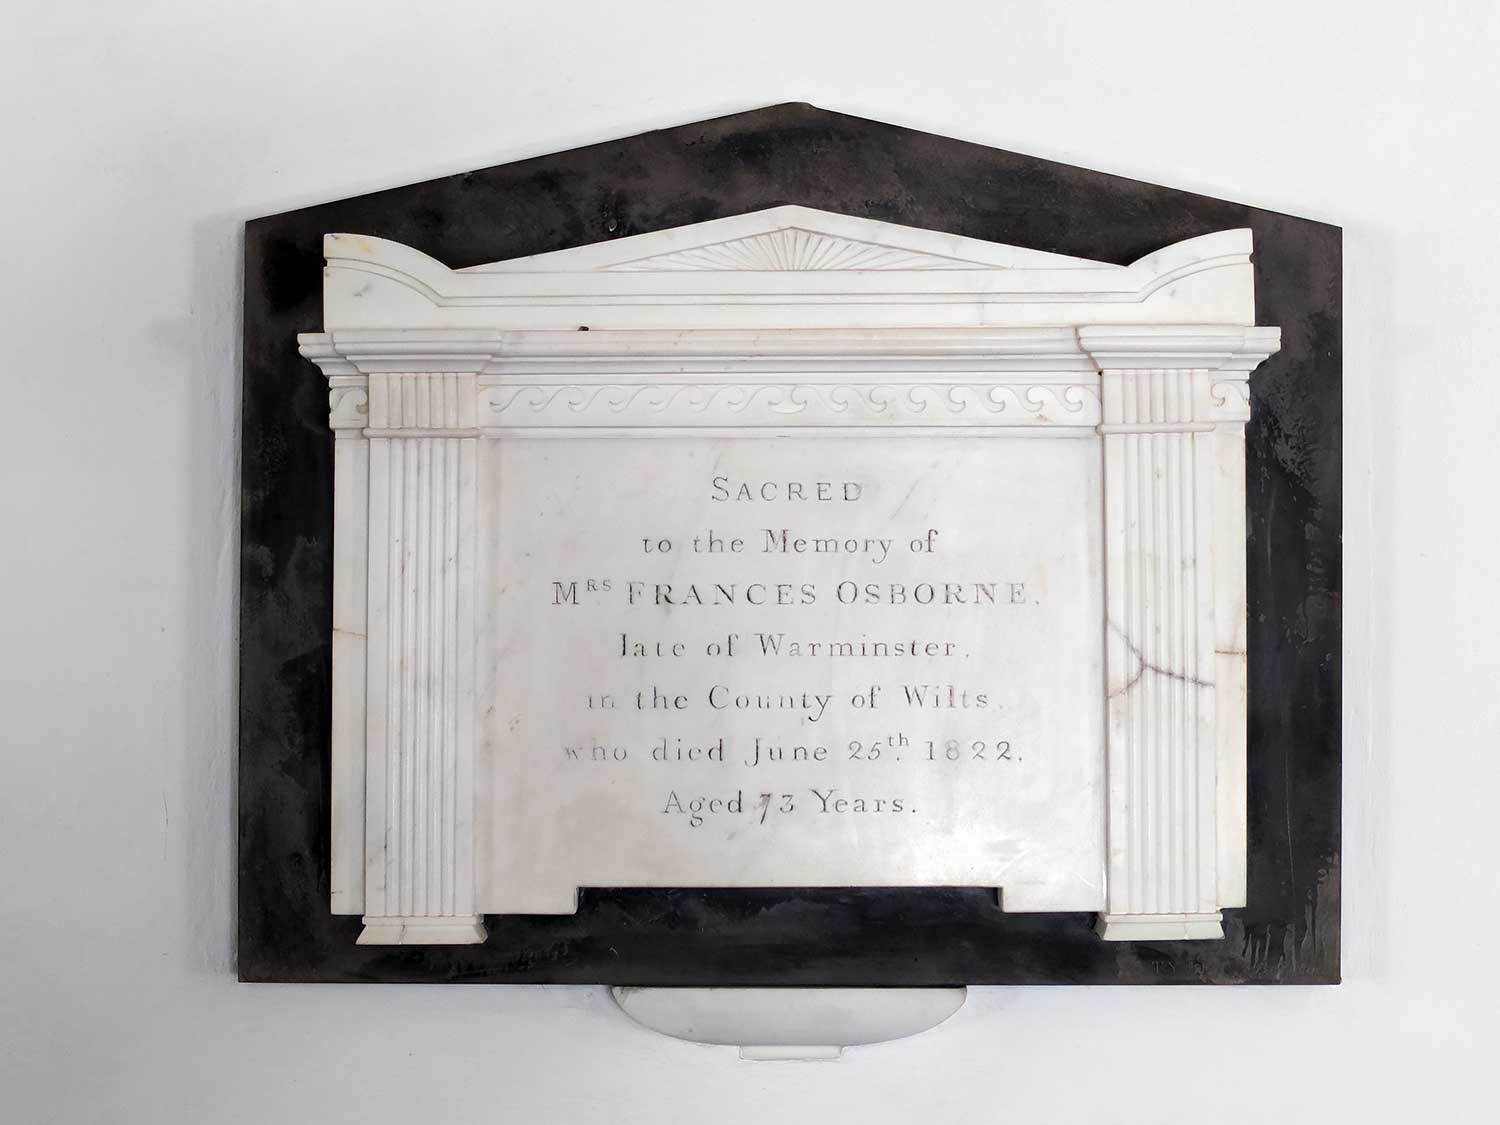
A white marble wall memorial (33in x 41in) on a black marble background supported by a corbel. It is a classic architectural design comprising a rectangular inscription tablet framed with reeded pilasters, a frieze with vitruvian scroll pattern, stepped moulded cornice and a winged triangulated pediment with decorated tympanum. Attributed to Tyley of Bristol.
Before
After
Conservation work
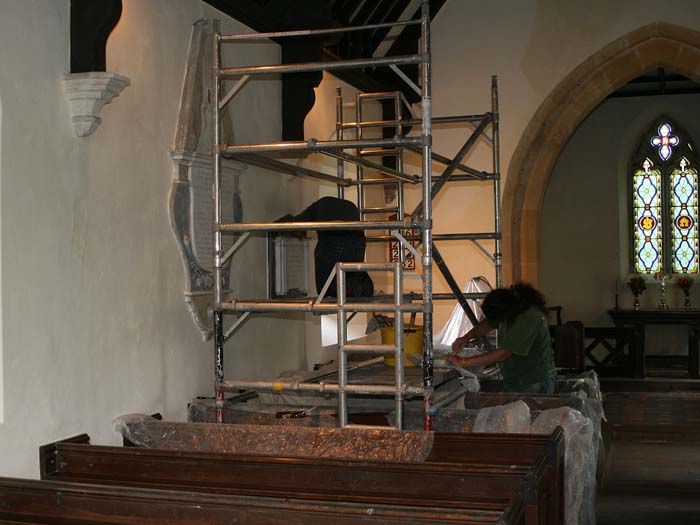
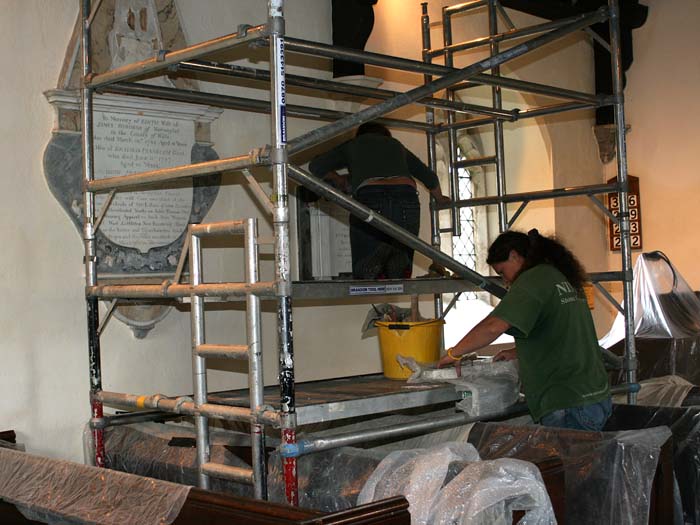
It was decided to dismantle the memorial to remove any ferrous fixings. Before any work was carried out the vulnerable cracked areas were faced up with P.V.A. and acid free tissue. The memorial was carefully dismantled labelling each piece as it was removed. Each piece was then cleaned of any plaster and ferrous fixings removed. Before re-erecting the memorial the corbel was re-fixed and wedged into the wall with stones and slate. Then a ‘Hypolon’ damp proof membrane was placed between the rendered rubble wall and the limestone backing. New ‘S’ shaped stainless steel cramps were made and used to fix the monument back to the wall. Once fixed, the damp proof membrane was trimmed and the wall rendered in a lime mortar. The memorial was then given a final clean and waxed with a micro crystalline wax. The render was then lime washed to match the surrounding wall.
Frances Osborne memorial
Dismantling and removing from the wall in sections.
Frances Osborne memorial
Cleaning up top pediment.
Frances Osborne memorial
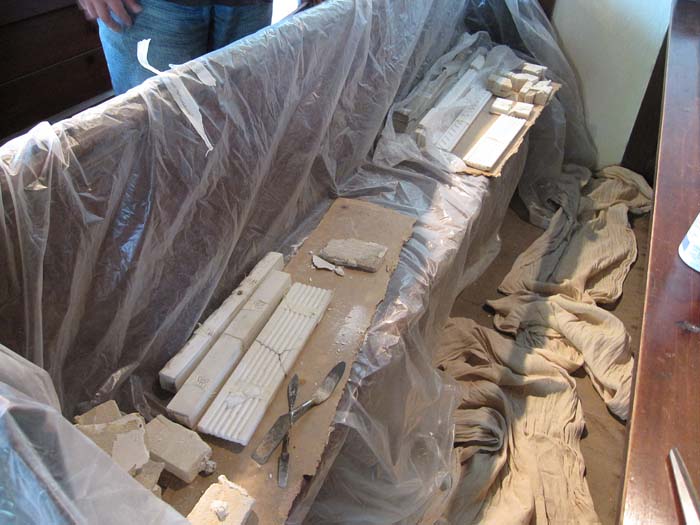
A complex jigsaw to be reassembled.
Frances Osborne memorial
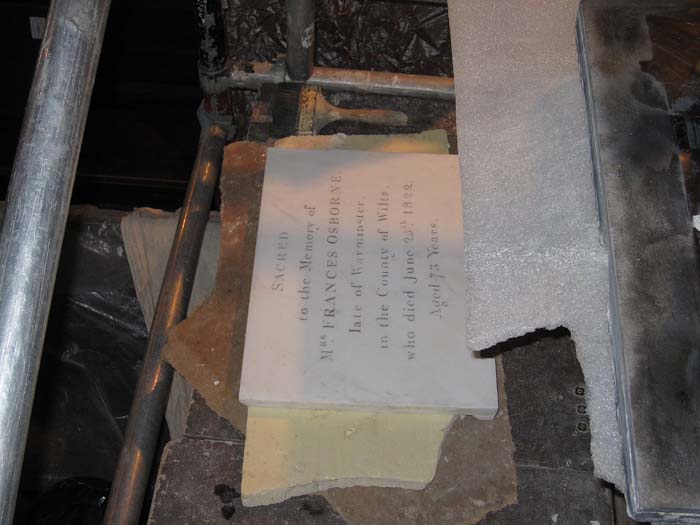
Main marble panel ready for cleaning.
Frances Osborne memorial
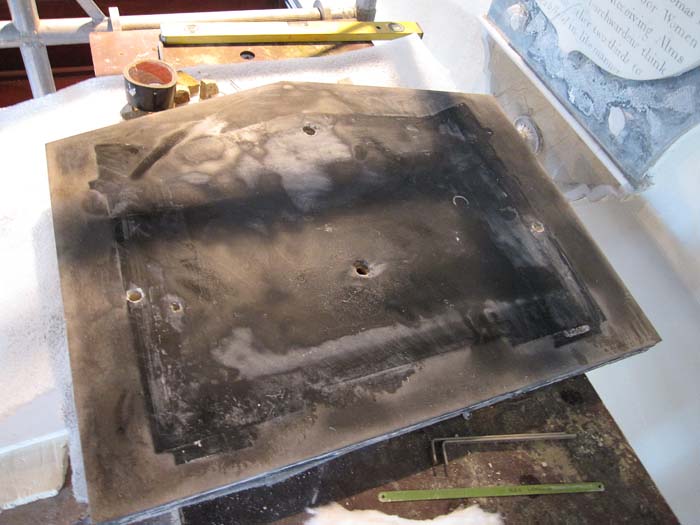
Backing panel showing previous fixing holes.
Frances Osborne memorial
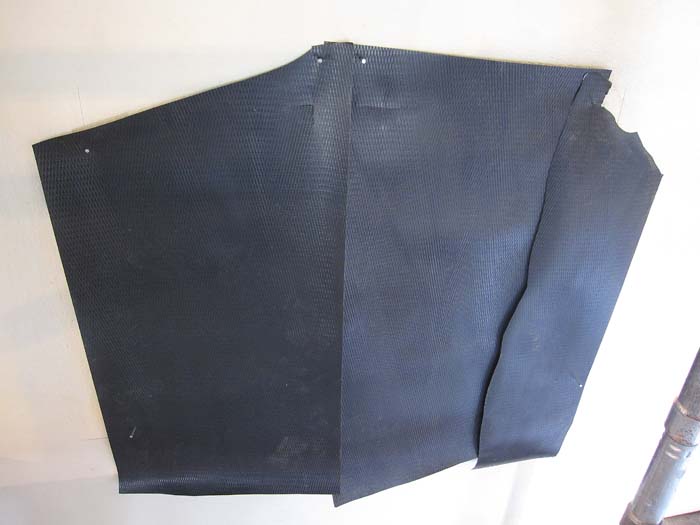
Damp proof membrane being installed behind the memorial.
Frances Osborne memorial
Reassembly nearing completion.